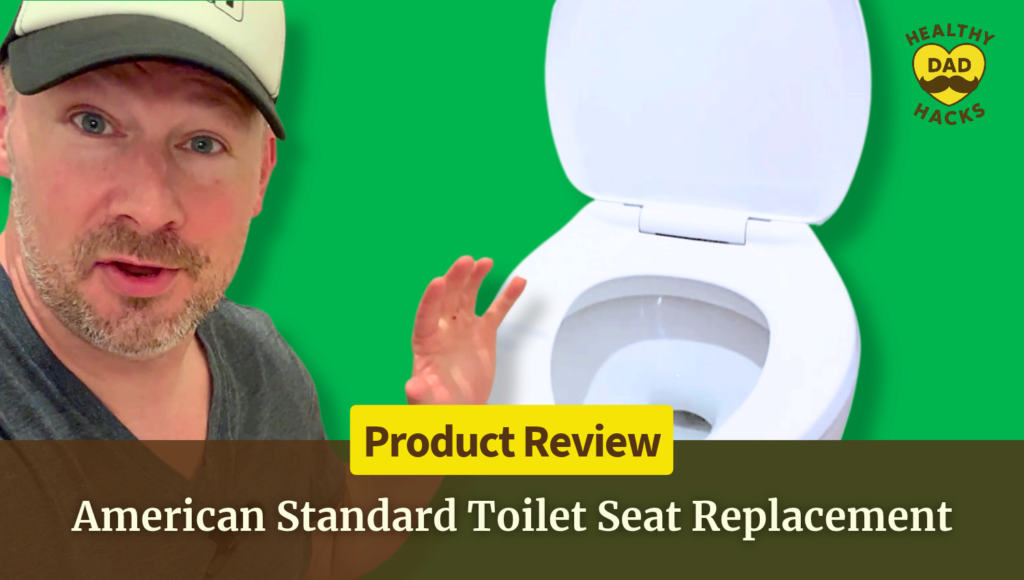
American Standard Toilet Seat Replacement Review (Even This Dad Can Do It)
Two screws stood between me and crossing a bathroom repair off my list. I’m not much of a DIY guy, but I swapped my broken seat in about 10 minutes. My American Standard toilet seat replacement review shows how I got the new one lined up and what to check before you buy.
Two screws stood between me and crossing a bathroom repair off my list. I’m not much of a DIY guy, but I swapped my broken seat in about 10 minutes. My American Standard toilet seat replacement review shows how I got the new one lined up and what to check before you buy.
by
Eric Sharp

Modified last on
Nov 8, 2026
Topics
Amazon Affiliate Disclaimer
This content may contain affiliate links, which means that if you click on one of the product links, I may receive a small commission to help purchase more Dad-friendly products to do more helpful reviews! As an Amazon Associate I earn from qualifying purchases.
I’m not a DIY guy, so when my toilet seat broke, I was a little intimidated by a job that turned out to involve two screws.
In this American Standard toilet seat replacement review, I’ll show you how I swapped the broken seat on my toilet in about 10 minutes. I checked the fit and nudged the new seat into place before tightening it down.
If you’ve been putting off the same job, watch the swap and see how much of it you could do yourself.

My Quick Video Review
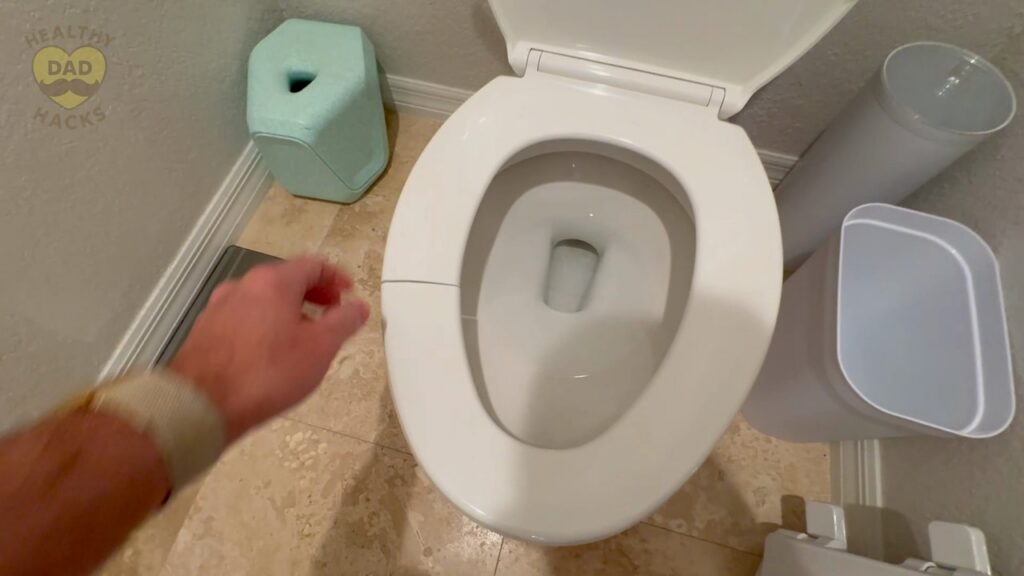
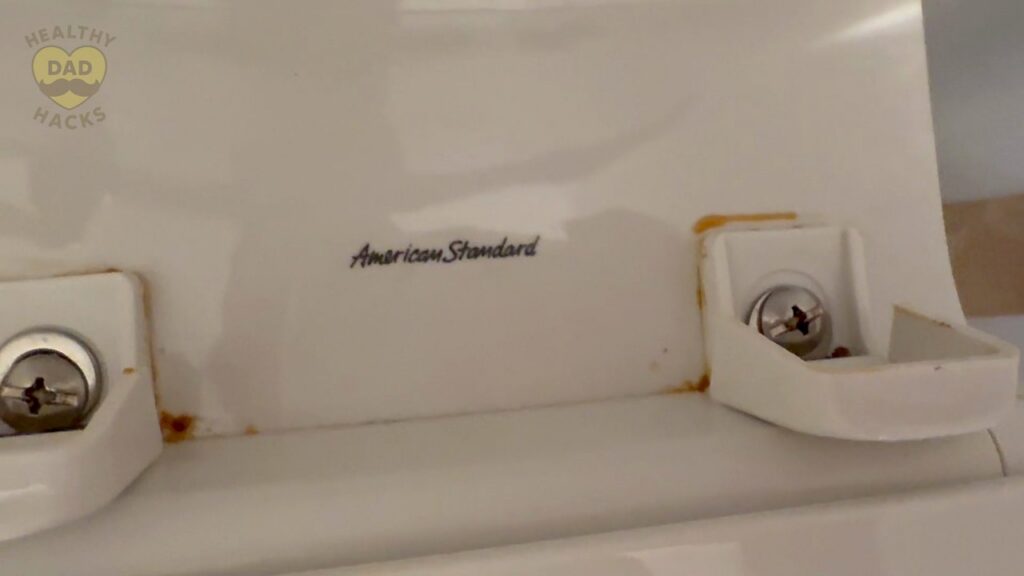
Here’s a quick video review of the American Standard Transitional Slow-Close Elongated Toilet Seat. Watch me do the whole swap, from exposing the old screws to lining up the replacement and snapping the hinge covers shut.
Other Bathroom Cleanup Products
Here are a few other products you may be interested in, Dad.
- Pull hair out of a slow drain. My FlexiSnake Drain Weasel review and how-to shows what came out of my bathroom sink and shower.
- Get the sink draining again. In my Green Gobbler drain cleaner review, I tackle the clog that left my wife’s sink barely draining.
- Tackle cleanup beyond the bathroom. My Harris 30% cleaning vinegar review covers how I used the concentrate for household jobs such as cleaning trash cans.


Pros and Cons
Here’s a quick breakdown of what Dad liked, and what can be improved about this elongated toilet seat.
What I Liked
- Quick swap. I had the old seat off and the replacement installed in about 10 minutes.
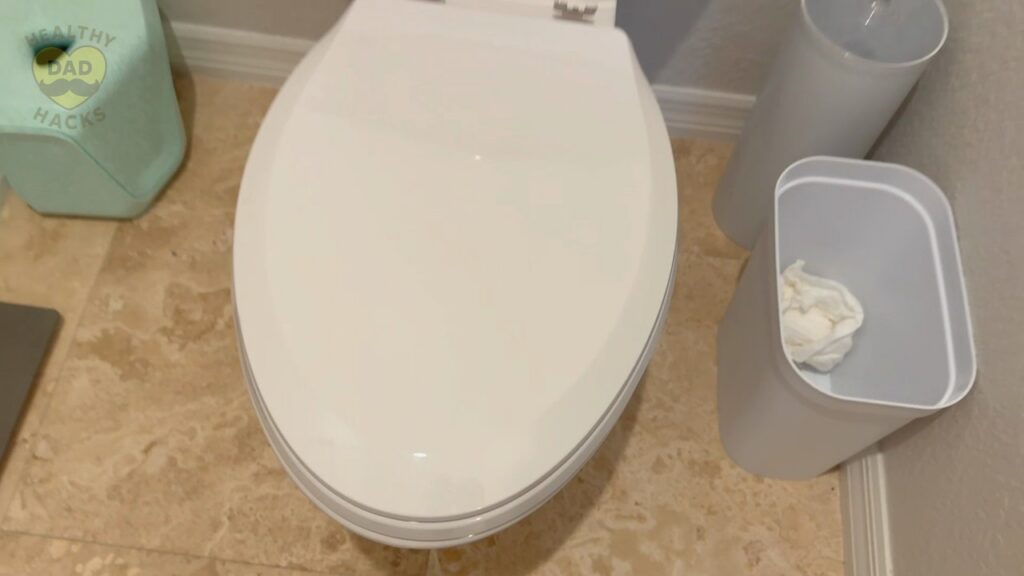
- Good fit on my bowl. The new seat matched the old one in length, and the lid lined up without hanging over the seat.
- Slow-close hinges. Both the lid and the seat are designed to lower gently.
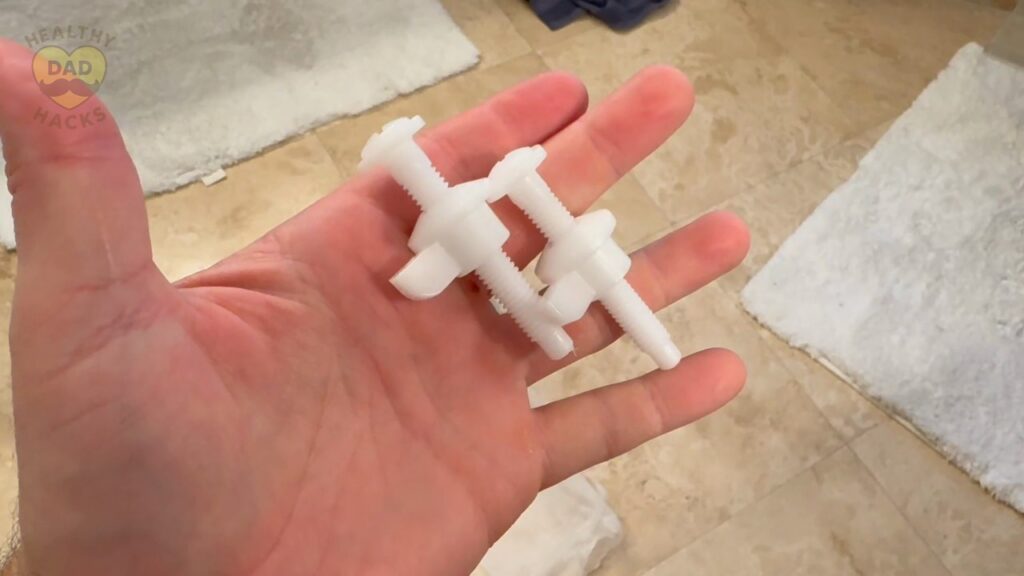
- Hardware comes in the box. The bottom-mount fasteners were easy to start by hand, and the hinge caps snapped shut over the screw heads.
Dad’s Honest Callouts
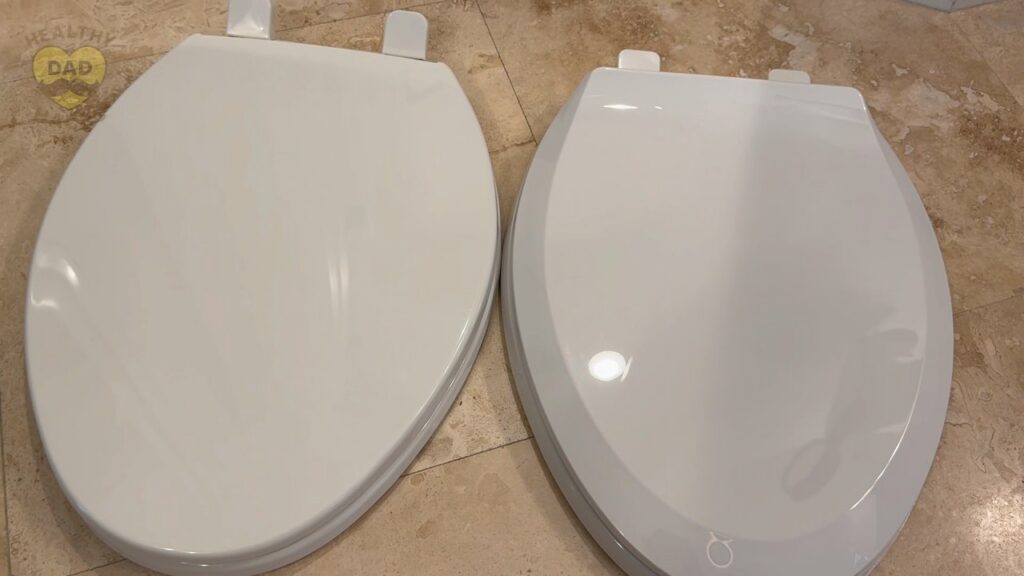
- White can look different side by side. The new lid looked slightly off-white next to my old one and had a small bevel along the edge.
- Plastic mounting hardware. My old seat used steel hardware. The replacement’s plastic fasteners worked for my install, but it’s a difference worth knowing about.
- Check access underneath. The included hardware mounts from below, so make sure you can reach the underside of both mounting holes.
Quick Verdict
If you’re on the fence about doing this yourself, check that your bowl is elongated and you can reach both mounting holes from underneath. If this model fits your bowl, I’d recommend it. I went in a little intimidated and had the seat lined up and the hinge covers snapped shut in about 10 minutes.
Top Amazon Reviews
Don’t just take my word for it — here’s what other Amazon buyers commonly mention about the American Standard Transitional Slow-Close Elongated Toilet Seat.
- “A comfortable fit for everyday use” – Buyers often say the seat fits their bowl well and feels comfortable for a basic replacement.
- “The lid comes down quietly” – Shoppers like the slow-close action, including some who use the seat with a bidet setup.
- “Some seats shift or break early” – Some buyers report movement even after tightening or say a part broke soon after installation. Opinions on build quality and value are mixed.
Unboxing – What’s Inside?
Mine came with the elongated seat and lid, the plastic bottom-mount hardware, and a set of installation instructions. The hinge covers snap over the screw heads once everything is lined up.
Specifications
- Model: 5503A00B.020
- Shape and finish: Elongated front, white
- Material: Polypropylene plastic
- Dimensions: 18.63 inches long by 14.19 inches wide
- Weight: 2.9 pounds
- Mounting: Bottom-mount hardware included
Dad’s 5 Key Features
Here are the five details I’d pay attention to if you’re swapping a broken seat for this American Standard slow-close model.
1. Elongated Fit
I checked the sizing before I pulled the old seat off, then put the two lids next to each other. The new one was the same length as mine, which was reassuring before I started turning screws. If you’re shopping for a replacement, check the shape and dimensions of your bowl first. The American Standard name alone won’t tell you which seat fits.
2. Bottom-Mount Hardware
Once the old screws were out, I dropped the new plastic screws through the hinges and the holes in the bowl. Each screw threads into a piece that you hold underneath. That was easy enough on my toilet because I could reach both sides. If yours hides the underside of those holes, check access before you order this kit.
Dad Tip: Start the bottom pieces by hand, then finish tightening from above once the seat is centered.
3. Slow-Close Seat and Lid
The slow-close hinge works on both pieces, so you can lower the ring or the lid without letting either one drop onto the bowl. That’s the feature I’d look for if a slammed lid is part of your bathroom soundtrack. My video focuses on the swap itself, so you’ll mostly see me check how the new lid sits when it’s closed.
4. Room to Center the Seat
With both screws started, I could move the whole seat a few millimeters to get it centered. I put the lid down and looked at where its little bumpers rested on the seat. I also checked the front for overhang. Once I was happy with how it sat, I tightened the screws and snapped the covers over the heads.
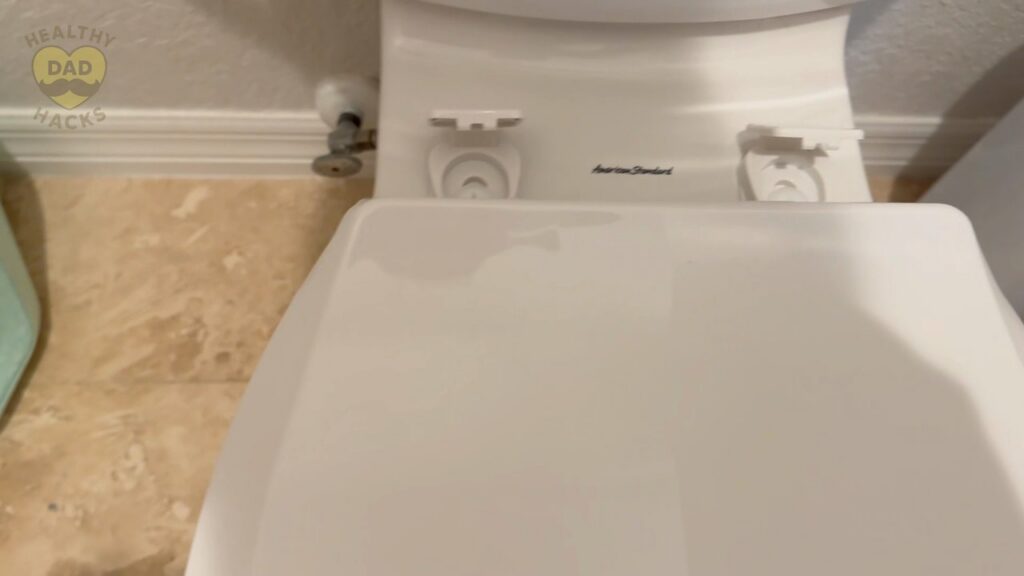
Dad Tip: Leave both screws a little loose while you check the closed lid and make those last small adjustments.
5. Beveled Lid and Smooth Finish
The slight bevel was the first thing I noticed when I set the new lid beside the old one. The replacement also looked a little warmer in color, even though it’s sold as white. It still looked good on my toilet. While the old seat was off, I took the opportunity to clean around the mounting holes, where the hinges usually get in the way.
Dad’s Final Thoughts
Fun Fact: The Smithsonian’s collection includes a patent model for a toilet flush valve. Even the parts we rarely think about have a place in the history museum.
I’ll take any household job I can finish before the kids ask what I’m doing. Getting this one off the list felt pretty good.
Get Dad Content Monthly!
The best things I find every month — products, nostalgic discoveries, Dad hacks, and ideas.
One email. Once a month.
First email sent on the 1st of the month
You got this, Dad.
Save time and money, avoid trial-and-error
Every day of Dadhood matters. Don't waste hours researching products or making expensive mistakes. Buy smarter, rediscover nostalgic fun, and create more family memories.


About this Dad
Eric Sharp is the founder of Healthy Dad Hacks. He's married to the love of his life (Sarah) and proud Dad of a blended family (Hazel, Roman, & Dean). When not thinking about Dadhood, he enjoys; CrossFit, entrepreneurship, eating steak, growing his Michael Jordan card collection, 90s music, and fancy sneakers.
Don't leave yet, there's more!